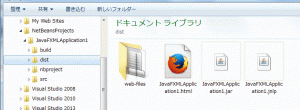
(マニュアルをまとめつつあります.)
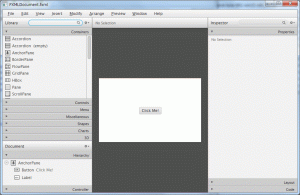
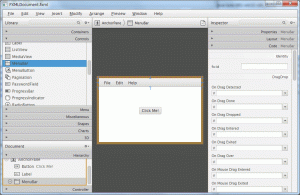
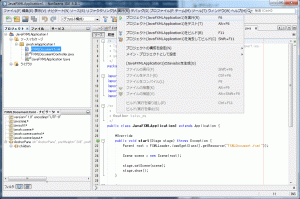
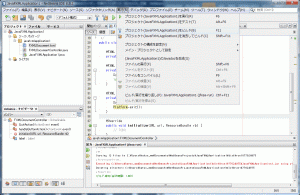
ここでは,NetBeansIDEとJava FX Scene Builerを用いた画像ビューワのアプリ構築の例を紹介します.
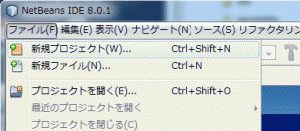
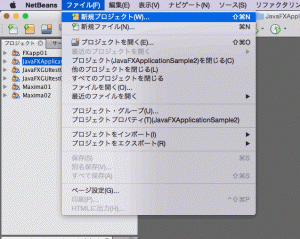
1. 新規プロジェクトの作成(FXMLappl01)
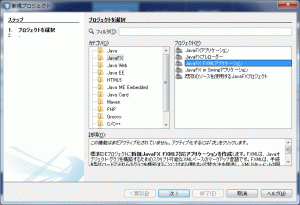
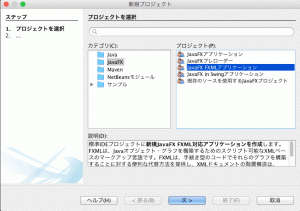
「Java FX FXMLアプリケーション」を選択します.
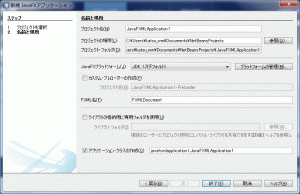
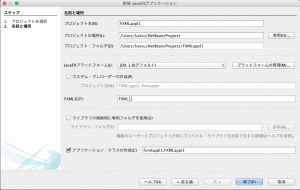
「プロジェクト名」と「FXML名」を設定します.
空のFXMLを追加します.
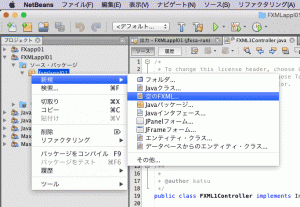
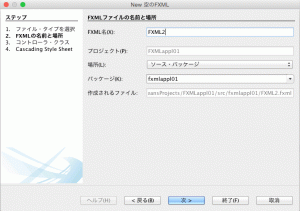
FXMLファイルの名前を指定します.
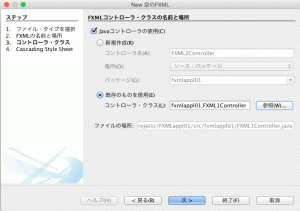
ここでは既存のFXMLコントローラを使うことにします.
FXMLのコード:FXML1.fxml
1 2 3 4 5 6 7 8 9 10 11 12 13 14 15 | <?xml version="1.0" encoding="UTF-8"?> <?import java.lang.*?> <?import javafx.scene.control.*?> <?import javafx.scene.layout.*?> <AnchorPane id="AnchorPane" prefHeight="92.0" prefWidth="243.0" xmlns:fx="http://javafx.com/fxml/1" xmlns="http://javafx.com/javafx/8" fx:controller="fxmlappl01.FXML1Controller"> <children> <Button fx:id="btn1" layoutX="36.0" layoutY="33.0" mnemonicParsing="false" onAction="#handleButton_btn1" prefHeight="26.0" prefWidth="172.0" text="Open Another Window" /> </children> </AnchorPane> |
FXMLのコード:FXML2.fxml
1 2 3 4 5 6 7 8 9 10 11 12 13 14 15 16 17 18 19 20 | <?xml version="1.0" encoding="UTF-8"?> <?import java.lang.*?> <?import javafx.scene.control.*?> <?import javafx.scene.image.*?> <?import javafx.scene.layout.*?> <AnchorPane id="AnchorPane" prefHeight="482.0" prefWidth="600.0" xmlns:fx="http://javafx.com/fxml/1" xmlns="http://javafx.com/javafx/8" fx:controller="fxmlappl01.FXML1Controller"> <children> <Button fx:id="btn21" layoutX="14.176322937011719" layoutY="1.0" mnemonicParsing="false" onAction="#handleButton_btn21" text="image 1" /> <Button fx:id="btn22" layoutX="88.17632293701172" layoutY="1.0" mnemonicParsing="false" onAction="#handleButton_btn22" text="image 2" /> <Button fx:id="btn23" layoutX="163.17632293701172" layoutY="1.0" mnemonicParsing="false" onAction="#handleButton_btn23" text="erase" /> <ImageView fx:id="iv1" fitHeight="437.0" fitWidth="574.0" layoutX="14.0" layoutY="35.0" pickOnBounds="true" preserveRatio="true" /> </children></AnchorPane> |
ファイル:FXMLappl01.java
1 2 3 4 5 6 7 8 9 10 11 12 13 14 15 16 17 18 19 20 21 22 23 24 25 26 27 28 29 30 31 32 33 34 35 36 37 38 39 40 41 42 43 44 45 46 | package fxmlappl01; import javafx.application.Application; import javafx.fxml.FXMLLoader; import javafx.scene.Parent; import javafx.scene.Scene; import javafx.scene.image.Image; import javafx.stage.Stage; public class FXMLappl01 extends Application { public static Stage stage2; @Override public void start(Stage stage) throws Exception { Parent root = FXMLLoader.load(getClass().getResource("FXML1.fxml")); Scene scene = new Scene(root); stage.setTitle("Main Window"); stage.setScene(scene); stage.show(); /* Another Window */ stage2 = new Stage(); stage2.initOwner(stage); Parent root2 = FXMLLoader.load(getClass().getResource("FXML2.fxml")); Scene scene2 = new Scene(root2); stage2.setTitle("Picture Window"); stage2.setScene(scene2); stage2.show(); /* image from "http://www.ashinari.com/" */ Share.img1 = new Image(getClass().getResourceAsStream("1.jpg")); Share.img2 = new Image(getClass().getResourceAsStream("2.jpg")); } public static void main(String[] args) { launch(args); } } |
ファイル:Share.java
1 2 3 4 5 6 7 | package fxmlappl01; import javafx.scene.image.*; public class Share { public static Image img1, img2; } |
ファイル:FXML1Controller.java
1 2 3 4 5 6 7 8 9 10 11 12 13 14 15 16 17 18 19 20 21 22 23 24 25 26 27 28 29 30 31 32 33 34 35 36 37 38 39 40 41 42 43 44 | package fxmlappl01; import java.net.URL; import java.util.ResourceBundle; import javafx.event.ActionEvent; import javafx.fxml.FXML; import javafx.fxml.Initializable; import javafx.scene.control.*; import javafx.scene.image.*; public class FXML1Controller implements Initializable { @FXML private Button btn1, btn21, bnt22, btn23; @FXML private ImageView iv1; @FXML private void handleButton_btn1(ActionEvent ev) { System.out.println("Open Another Window!"); FXMLappl01.stage2.show(); } @FXML private void handleButton_btn21(ActionEvent ev) { iv1.setImage(Share.img1); } @FXML private void handleButton_btn22(ActionEvent ev) { iv1.setImage(Share.img2); } @FXML private void handleButton_btn23(ActionEvent ev) { iv1.setImage(null); } @Override public void initialize(URL url, ResourceBundle rb) { // TODO } } |
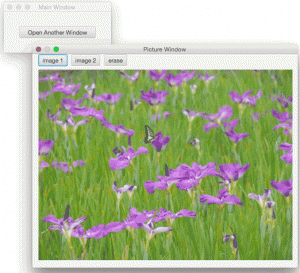
このアプリを実行したところ:
プロジェクト全体(Zip圧縮):FXMLappl01.zip
